Git Branches Explained: A Beginner's Complete Guide
A git branch lets you experiment freely without touching your main code. Learn what branches are, why they matter, and how to create your first one in minutes.
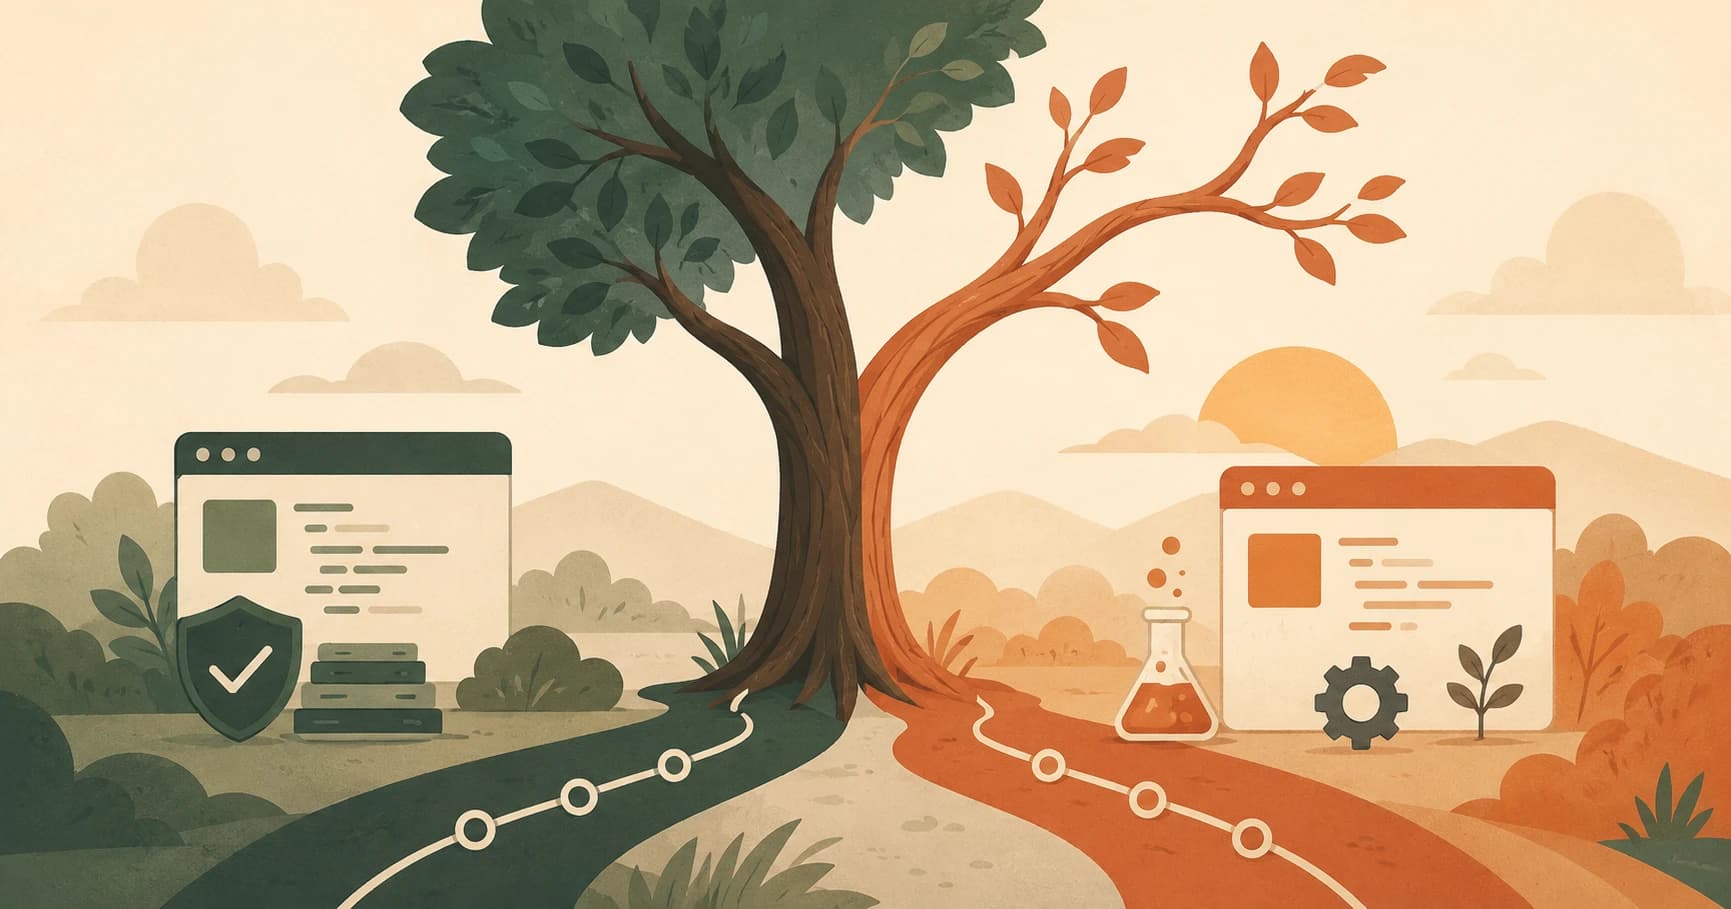
In this lesson, you will learn what a git branch is and how to create one. By the end, you will understand how branches let you experiment freely, without ever putting your working code at risk.
Key Takeaways
- A git branch is a separate version of your project where you can make changes safely
- The main branch holds your stable, working code. Branches let you experiment without ever touching it.
git checkout -b branch-namecreates a new branch and switches you to it instantly- If an experiment fails, delete the branch and move on. Main was never affected.
What a Git Branch Actually Is
If you completed the previous lesson on cloning, you already have a local repo ready to experiment with. This lesson introduces the concept that makes experimentation safe.
Here's the analogy that makes this click: imagine your main branch is a published book. It's finished. It works. People are reading it.
Now you want to try a different ending. You wouldn't scribble on the published copy, you'd print a draft and edit that instead. If the new ending is better, you fold it in. If it's not, you throw the draft away.
That's exactly what a git branch is. It starts from a specific point in your project history and lets you work in isolation. Nothing you do on a branch touches the main branch until you decide to merge it in.
You might wonder: what actually happens to your files when you switch branches? Git swaps them out behind the scenes. When you're on the experiment branch, your editor shows the experiment version. Switch back to main and your editor shows the main version. No copying, no chaos.
You may see "main" and "master" used interchangeably in tutorials. They mean the same thing: Git and GitHub renamed the default branch from master to main around 2020. GitHub's official branch documentation covers the full history of this change. If an older tutorial says master, you can read that as main.
Why This Matters If You're Building AI Projects
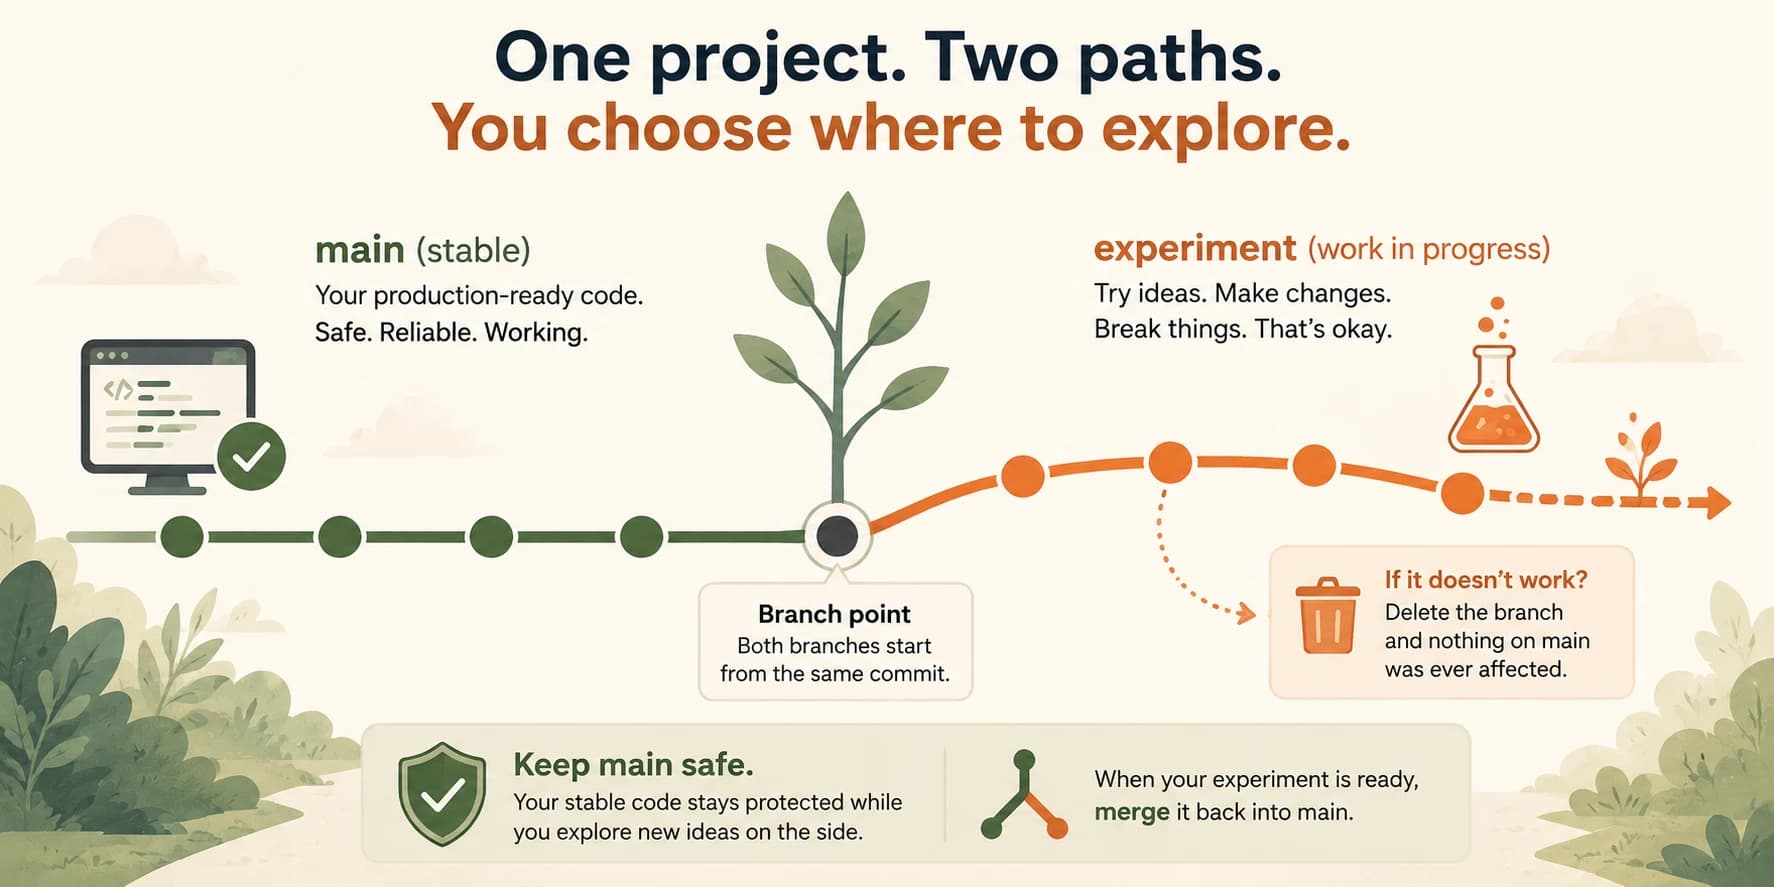
Branches become immediately useful the moment you want to try something that might break what already works.
Say you've built a working Claude API script, it connects to the model, sends a prompt, and returns a clean response. Now you want to experiment: maybe you want to try a different model version, or rewrite the system prompt from scratch.
Without branches, you edit your working script directly. If the experiment breaks it, you're debugging instead of building.
With branches, you create a branch called try-new-prompt. You make all your experimental changes there. If it works better, you can bring those changes into main. If it doesn't, you delete the branch and move on. Your original working script on main was never touched.
This is the pattern every developer uses, from solo learners to teams of fifty. The scale changes; the habit doesn't.
It matters even more once an AI coding agent is the one making the edits. Giving an agent its own branch, rather than letting it touch main directly, is the single safety habit that turns a bad automated edit into something you can just throw away.
Rule of thumb: any time you want to try something that might break what currently works, create a branch first.
How to Create a Git Branch and Switch Between Them
Two commands cover everything you need for now.
Create a new branch and switch to it:
git checkout -b experiment
The -b flag means "create this branch." After running this, you're on the new branch. Any commits you make go here, not to main.
Switch back to main:
git checkout main
See which branch you're on:
git branch
The branch with an asterisk (*) is your current one. You'll see something like:
* main
  experiment
That's the full workflow for this lesson. Create a git branch, do your work, switch back to main when you want to return to your stable version. One honest tip: early on, it's easy to forget which branch you're on. Run git branch whenever you're unsure — the asterisk tells you exactly where you are. The Git documentation for git checkout has the full command reference if you want to explore further options.
Modern Git also supports git switch -c experiment to create a branch and git switch main to move back. Both work, checkout is more commonly seen in tutorials, but switch is cleaner to read.
Your Task
Create your first branch
Navigate into your my-first-repo folder from lesson 04.03:
cd my-first-repo
Create a new branch called "experiment":
git checkout -b experiment
Make a small change, add a line to README.md:
echo "Testing branches" >> README.md
Stage and commit it:
git add .
git commit -m "test branch commit"
Now switch back to main and check the README:
git checkout main
cat README.md
Notice: your change is not on main. It lives safely on the experiment branch. That's branching working exactly as intended.
Done? You've completed Lesson 04.05.
FAQ