GitHub Desktop Tutorial: See Git Without the Terminal
GitHub Desktop is a free Git GUI that shows you exactly what changed before every commit. This beginner tutorial covers install, setup, and daily workflow.
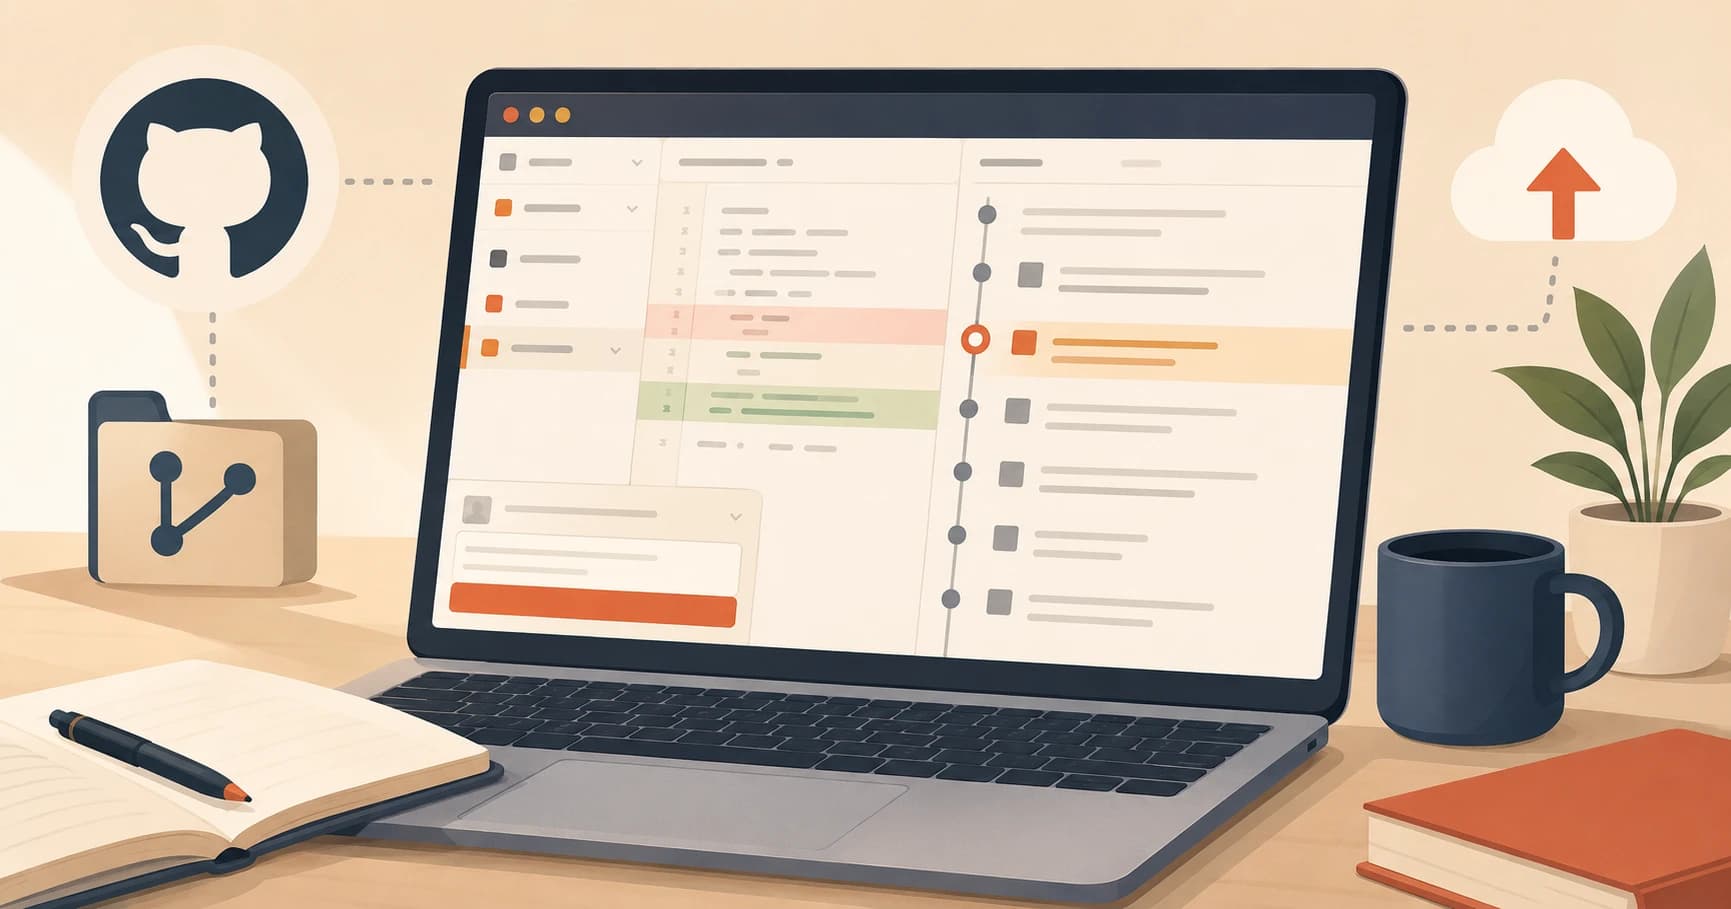
GitHub Desktop is a free app that gives you a graphical interface for Git, so you can see your changes, commit history, and branches without ever opening the terminal. This lesson shows you how to install it, open your existing repository, and make your first visual commit.
Key Takeaways
- GitHub Desktop is a visual layer on top of Git, not a replacement for it
- The Changes view shows you a visual diff of every file you've modified
- The History view shows your full commit log: exactly what
git logshows in the terminal- Many experienced developers use GitHub Desktop and the terminal together
- It's free, open source, and works on Windows and Mac
What GitHub Desktop Actually Does
GitHub Desktop does not replace Git. Git is still running underneath, GitHub Desktop just gives you a window into what Git is doing. You can find the full feature list in the official GitHub Desktop documentation.
When you run git add . and git commit -m "message" in the terminal, you're working blind. You type the commands and trust that Git did something. GitHub Desktop shows you the same operations happening in real time: which files changed, which lines were added or removed, and what your commit history looks like.
That visibility is genuinely useful, not just for beginners, but for anyone who wants a clear map of their repository state before committing. Some developers keep both open at the same time.
If you haven't covered reading GitHub repositories yet, that lesson, reading GitHub repositories, gives you the context for what you're looking at here.
How to Install GitHub Desktop
Download GitHub Desktop from desktop.github.com. It's free, open source, and takes under two minutes to install.
After installation, open the app and sign in with your GitHub account. This links your local Git work to your remote repositories on github.com.
GitHub Desktop requires a GitHub account. If you don't have one yet, create a free account at github.com before installing.
Opening Your Existing Repository
Once you're signed in, add the repository you've been building throughout this module.
Click File → Add Local Repository, then navigate to your my-first-repo folder and click Add Repository.
Your repository is now visible in GitHub Desktop. You'll see two tabs along the top of the panel: Changes and History. These are the two views you'll use every time you open the app.
The Two GitHub Desktop Views You'll Use Every Day
The Changes view is a visual diff. Every time you modify a file, GitHub Desktop shows you exactly what changed: red lines are deletions, green lines are additions. This is the same information git diff gives you in the terminal, just rendered as a clear, color-coded comparison.
Open your README.md in VS Code, add a line, and save it. Switch back to GitHub Desktop. The Changes tab updates immediately. You can see the new line highlighted in green before you've committed anything.
The History view is your full commit log. Every commit you've made appears here with its message, timestamp, and the exact files it touched. Click any commit to see the diff that was included. You'll see exactly what changed in each file at that moment.
This is the same information as git log and git show, just presented visually. Once you understand what you're looking at here, terminal commands start making more sense too.
Making a Commit Without the Terminal
When you're ready to commit, GitHub Desktop replaces the git add and git commit steps with a form at the bottom left of the screen.
You'll see a summary field (your commit message) and an optional description field. Type a message, something like "update readme", and click Commit to main.
That's it. GitHub Desktop staged and committed your changes. To push to GitHub, click Push origin in the top bar.
GitHub Desktop handles git add and git commit for you, but you still need to push manually. The Push Origin button at the top is the equivalent of git push, don't forget it after committing.
To understand exactly what these commands do under the hood, the lesson on git add and git commit covers each step in detail.
GitHub Desktop vs the Terminal: The Honest Answer
Many beginners feel like using GitHub Desktop is "cheating." It isn't.
The terminal is better for scripting, automation, and edge cases that GUIs can't handle. GitHub Desktop is better for reviewing exactly what's in your staging area before you commit, and for visualizing your commit history at a glance.
You'll eventually want both. I keep GitHub Desktop open in a second window while working in the terminal. Use it to understand what's happening. Use the terminal to build the muscle memory every developer needs.
When you get comfortable with the terminal workflow, use GitHub Desktop as your "map" before running commands. Open it, review the Changes view to confirm what's staged, then commit from the terminal. The two tools are more useful together than apart.
As you build more AI projects and start showing your work, your commit history becomes part of your story. The next lesson covers exactly that.
Your Task
Install GitHub Desktop and open your repo
Download GitHub Desktop from desktop.github.com. Install it and sign in with your GitHub account.
Click File → Add Local Repository, navigate to your my-first-repo folder, and click Add.
You should see your commit history in the History tab.
Make a small change to README.md in VS Code, save it, then switch back to GitHub Desktop. You should see the change appear in the Changes tab, this is a visual diff showing exactly what will go into your next commit.
That's what every commit looks like before you stage and commit it.
Done? You've completed Lesson 04.09.
FAQ