How to Install Cursor AI Editor: Setup and First Tour
Learn how to install Cursor AI editor step by step, import your VS Code settings, and use the model picker with real confidence.

The first time I opened Cursor, a small dialog asked: "Import from VS Code?" I clicked yes without thinking twice, and every keybinding I'd built over three years just... worked.
It felt less like starting over and more like moving into a new apartment with all my furniture already in place. If you skipped straight to this lesson, the path's opening lesson explains why we insist on building agentic AI inside real editors instead of a notebook.
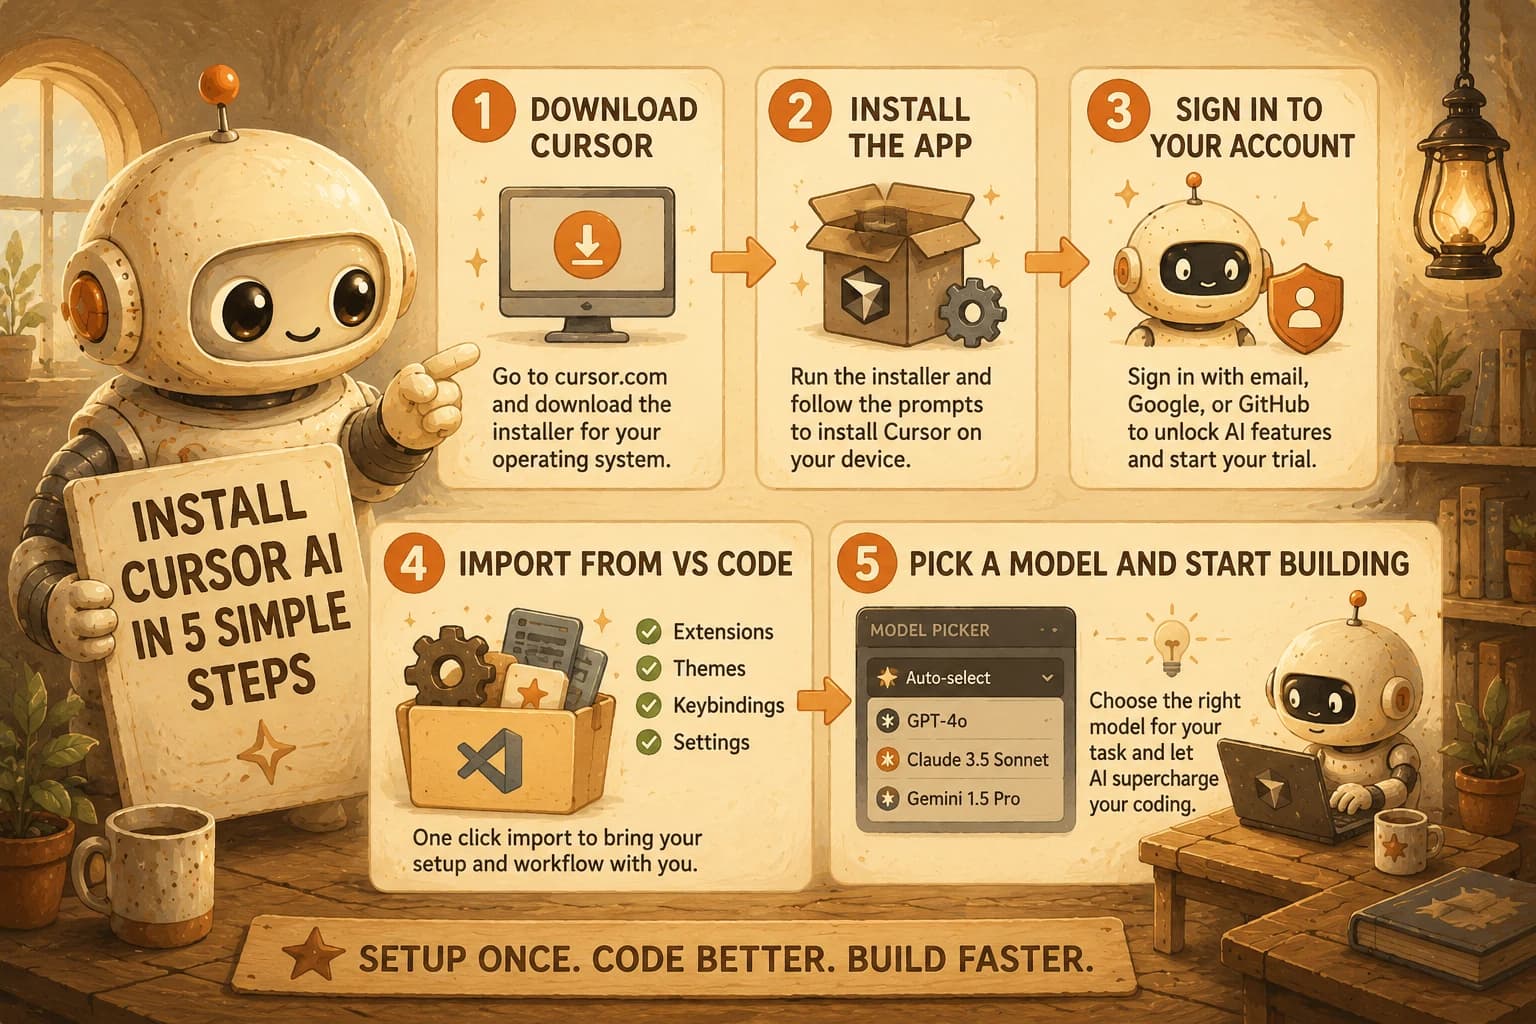
To install Cursor, download it from cursor.com for your operating system, run the installer, and launch it. On first launch, sign in to unlock AI features, accept the offer to import your VS Code settings and extensions, and pick a model from the picker in the chat panel. That's the whole install. Everything else in this lesson is making sure it actually works before you build anything on top of it.
Key Takeaways
- Cursor installs from cursor.com in under five minutes on Windows, macOS, or Linux, and needs at least 8 GB of RAM for AI features to feel responsive
- On first launch, Cursor can one-click import your VS Code extensions, themes, keybindings, and settings, since it's built as a fork of VS Code
- A handful of Microsoft-published extensions won't transfer, because Cursor pulls from the Open VSX registry, not the Microsoft Marketplace
- The model picker lets you choose Auto-select or a specific model, and picking wrong for the task is the single most common beginner mistake in Cursor
- Cursor's free-tier request limit is no longer a fixed published number, so check your account dashboard instead of an old blog post
How Do You Install Cursor AI Editor?
Installing Cursor means downloading the right package for your operating system from cursor.com and running it like any other application.
Go to the official Cursor download page and grab the installer for your OS.
- Windows or Linux: run the downloaded installer and follow the prompts. On Linux, make sure
libfuse2is installed first, or the AppImage won't launch. - macOS: open the downloaded DMG file, drag the Cursor icon into your Applications folder, then launch it from Applications or Spotlight.
- Check your specs: you need roughly 4 GB of RAM and 2 GB of free disk space at minimum, but 8 GB of RAM makes a real difference once you're running AI features regularly, since the heavier models process in the cloud and the local agent loop stays snappier with headroom. If terminal basics or OS-level setup feel shaky, Getting Started covers that ground first.
Once it launches, you'll land on a clean, mostly-empty editor window. That's expected. The interesting part happens next.
What Happens the First Time You Open Cursor?
The first launch walks you through account creation, a trial offer, and the VS Code import prompt, in that order.
Cursor asks you to sign in with an email, Google, or GitHub account before it unlocks any AI features, and creating an account starts a 14-day Pro trial automatically. You don't need to enter payment details to start it. After sign-in, if Cursor detects an existing VS Code installation on your machine, it offers a one-click import right there in the onboarding flow.
If you skip the import prompt by accident, it isn't gone for good. Open Settings with Cmd+Shift+J on Mac or Ctrl+Shift+J on Windows and Linux, go to General, then Account, and you'll find the same Import option waiting under VS Code Import.
Skipping this tour and jumping straight into a real project is exactly how a beginner ends up fighting the editor instead of the code. A missing keybinding thirty minutes into a task is a worse time to discover it than right now, in the two minutes it takes to look around.
How Do You Import VS Code Settings and Extensions into Cursor?
Importing from VS Code means bringing your extensions, themes, keybindings, and user settings into Cursor with one click, either during onboarding or later from Settings.
If you missed the first-launch prompt, here's the manual path:
- Open Cursor Settings with Cmd+Shift+J (Mac) or Ctrl+Shift+J (Windows/Linux).
- Go to General > Account.
- Click Import under the VS Code Import section.
Alternatively, open the Extensions panel with Cmd+Shift+X or Ctrl+Shift+X, and look for an Import from VS Code button at the top, or the same option under the three-dot menu.
What actually transfers: extensions, themes and icon packs, keybindings, and settings like font size, tab width, and formatting rules. Because Cursor shares VS Code's default shortcuts, any custom keybindings you'd built carry over without you retyping a single one.
Cursor installs extensions from the Open VSX Registry, an open-source alternative maintained by the Eclipse Foundation, not Microsoft's own marketplace. Roughly 90% of extensions are published to both, but a few Microsoft-proprietary ones aren't, and those quietly won't appear after import. If you notice one missing later, that's why. It's not a bug, it's a licensing boundary you're allowed to bump into.
What Is the Cursor Model Picker, and Why Does It Matter?
The model picker is the dropdown in the chat and Composer panels where you choose which AI model answers your request, and it matters because the wrong choice for a task genuinely changes the quality and speed of what comes back.
Cursor offers an Auto-select mode that tries to pick a suitable model based on your prompt, file type, and task complexity, alongside manually choosing a specific model yourself. For heavy reasoning work like refactoring a tangled function or debugging a subtle logic error, a stronger reasoning model tends to think it through more carefully. It's slower, but the depth pays off.
For quick, mechanical edits like renaming a variable across a file, a faster model gets you there just as correctly. There's no reason to wait on a heavyweight model for that.
I've had Auto-select quietly swap to a different model mid-session without me noticing, and only caught it because the response style changed tone halfway through a multi-file edit. Now I glance at the picker before starting anything that touches more than one file, just to know which model is actually doing the thinking.
You can set your own default models for different actions in Cursor Settings, which is worth doing once you notice a pattern in what works for your kind of tasks. Picking a model is only half the autonomy question. The next lesson covers Cursor's Agent, Plan, and Ask modes, which control how much the model is allowed to do once you've picked it.
What Are Cursor's Free-Tier Limits?
Cursor's free tier gives you the full editor plus a limited number of AI requests each month, but the exact number is no longer something Cursor publishes as a fixed figure.
In mid-2025, Cursor moved from a simple per-request quota to a credit-based pricing model, and its public pricing page doesn't list one hard number anymore. Older posts citing "2,000 completions and 50 slow premium requests" are describing a system that's since changed.
The only reliable source for your actual limit and its reset date is your own account dashboard inside Cursor.
If you outgrow the free tier, Cursor now offers six paid tiers running from Hobby at $10 a month up through Ultra at $200 a month, but there's no need to think about upgrading before you've even finished this lesson.
Your Lab
You've now installed the Cursor AI editor, toured it, and seen what does and doesn't survive an import. This lab proves it, on your machine, not just on paper.
Install Cursor
Download Cursor from cursor.com for your OS, run the installer, and launch it. Sign in to unlock AI features.
Import your starter settings
From the onboarding prompt, or manually via Cmd/Ctrl+Shift+J to General > Account, import your VS Code settings. If you don't have an existing VS Code setup, use the starter settings file provided with this lesson instead.
Switch the model twice
Open the chat panel, open the model picker, and switch from Auto-select to a specific model. Then switch again to a different specific model. Notice any difference in response speed or depth between the two.
Prove it worked
Take a screenshot of the model picker showing your second model choice, and save it into learning-log.md in your repo along with one sentence on which model you'd default to and why.
Done? You've completed Lesson 14.02.
FAQ